
In this tutorial, you will learn how to remove blank rows in Excel workbook.
Rarely does data arrive fully organized, free of mistakes, and clean. One of the major problems is having blank rows in Excel that break up your data. You will frequently need to ensure that your data is in the best possible functioning order. Of course, you can just scroll and remove each individual row if your data collection is very small. For large tables, though, this takes a long time.
Once ready, we’ll get started by utilizing real-world examples to show you how to remove blank rows in Excel workbook.
Table of Contents
Remove Blank Rows
You can easily remove blank rows from your Excel workbook.
Step 1
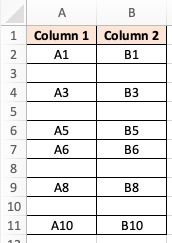
First, you need a clean and tidy data group to start the tutorial.
Step 2
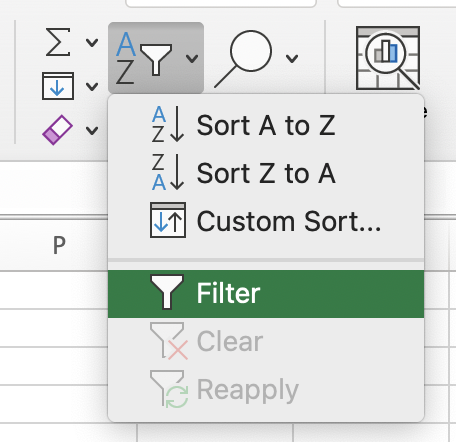
To remove blank rows, you can insert a ‘Filter’ for the columns under the ribbon tab ‘Home’.
Step 3
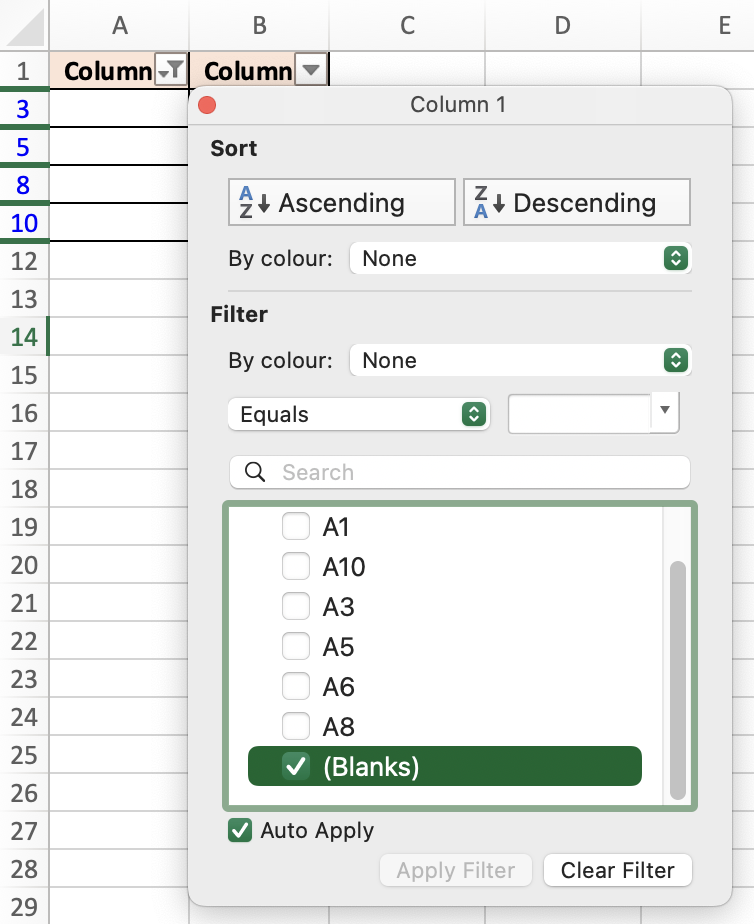
Once your data group has the filter function, filter the data group to only show ‘Blank’ rows. You can then see that the rows that are empty showed are blue-colored. You can then select the rows and delete them.
Step 4
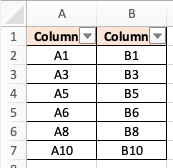
Once you are done, your Excel sheet will look like this.
Summary
That’s all there is to it. You are welcome to copy the example spreadsheet below to see how it is done. The most crucial lesson is to enjoy yourself while doing it.
In this tutorial, I covered how to remove blank rows in Excel workbook.